
Month: August 2014
Foaming Hand Soap
I was just roaming around Pinterest when I came across this unbelievable pin from Balancing Beauty and Bedlam. I recall my pretty number-crunching friend D’reen telling me that she does this.
Since the foaming soap in the kitchen was pumping out its last bubbles, I knew that if I was going to try it, now would be the time. I hopped up from the couch with a skeptical (and tired) Papa, ran to the (newly organized) bathroom closet and grabbed a generic liquid hand soap. (You can use whatever kind you’d like. Mine smelled like melon and cucumbers.)
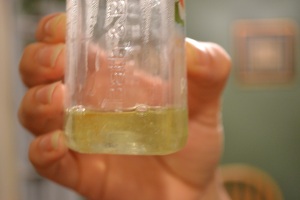
See, this is my empty foaming hand soap bottle.

Here is the generic liquid hand soap
I found in the bathroom.

This is how much liquid hand soap
I poured into the foaming dispenser.
The rest, I filled with water.
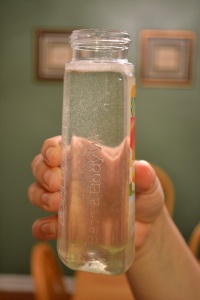
I tilted it upside-down a few times
so that it would mix properly and…

Foaming hand soap!
I jumped around the kitchen
quietly as not to wake the kids. 😉
I don’t think they would share my jubilance.
15 pins to go.
(clapping my hands quietly)
Crock Pot Salsa
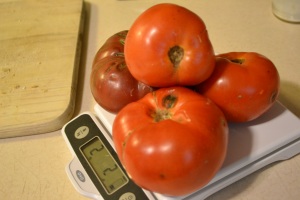
Similar to my search for a creamier hummus and a superior energy bar, my quest to find a great salsa, fills my Pinterest boards. When my friend, Gluten Free Julia Child, gave me some organic tomatoes, I knew I had to try this intriguing cooked salsa recipe.

Jalepeno, shallots and garlic:
all in the crock pot

After 2 1/2 hours,
I was pleasantly surprised.

We’re not big fans of cilantro,
so I was happy when this recipe suggested to
substitute it with Italian Parsley.
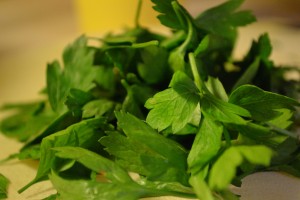
I added the parsley and the salt
and threw it in the blender.

If we make this again, I think
I’ll use another jalepeno
to make it a bit more zippy
and I think I’ll use way less parsley.

Still, though, I really liked the texture;
it was more like my favorite jarred salsa.
This one might be a keeper. 🙂
16 pins to go.
Corn Chowder
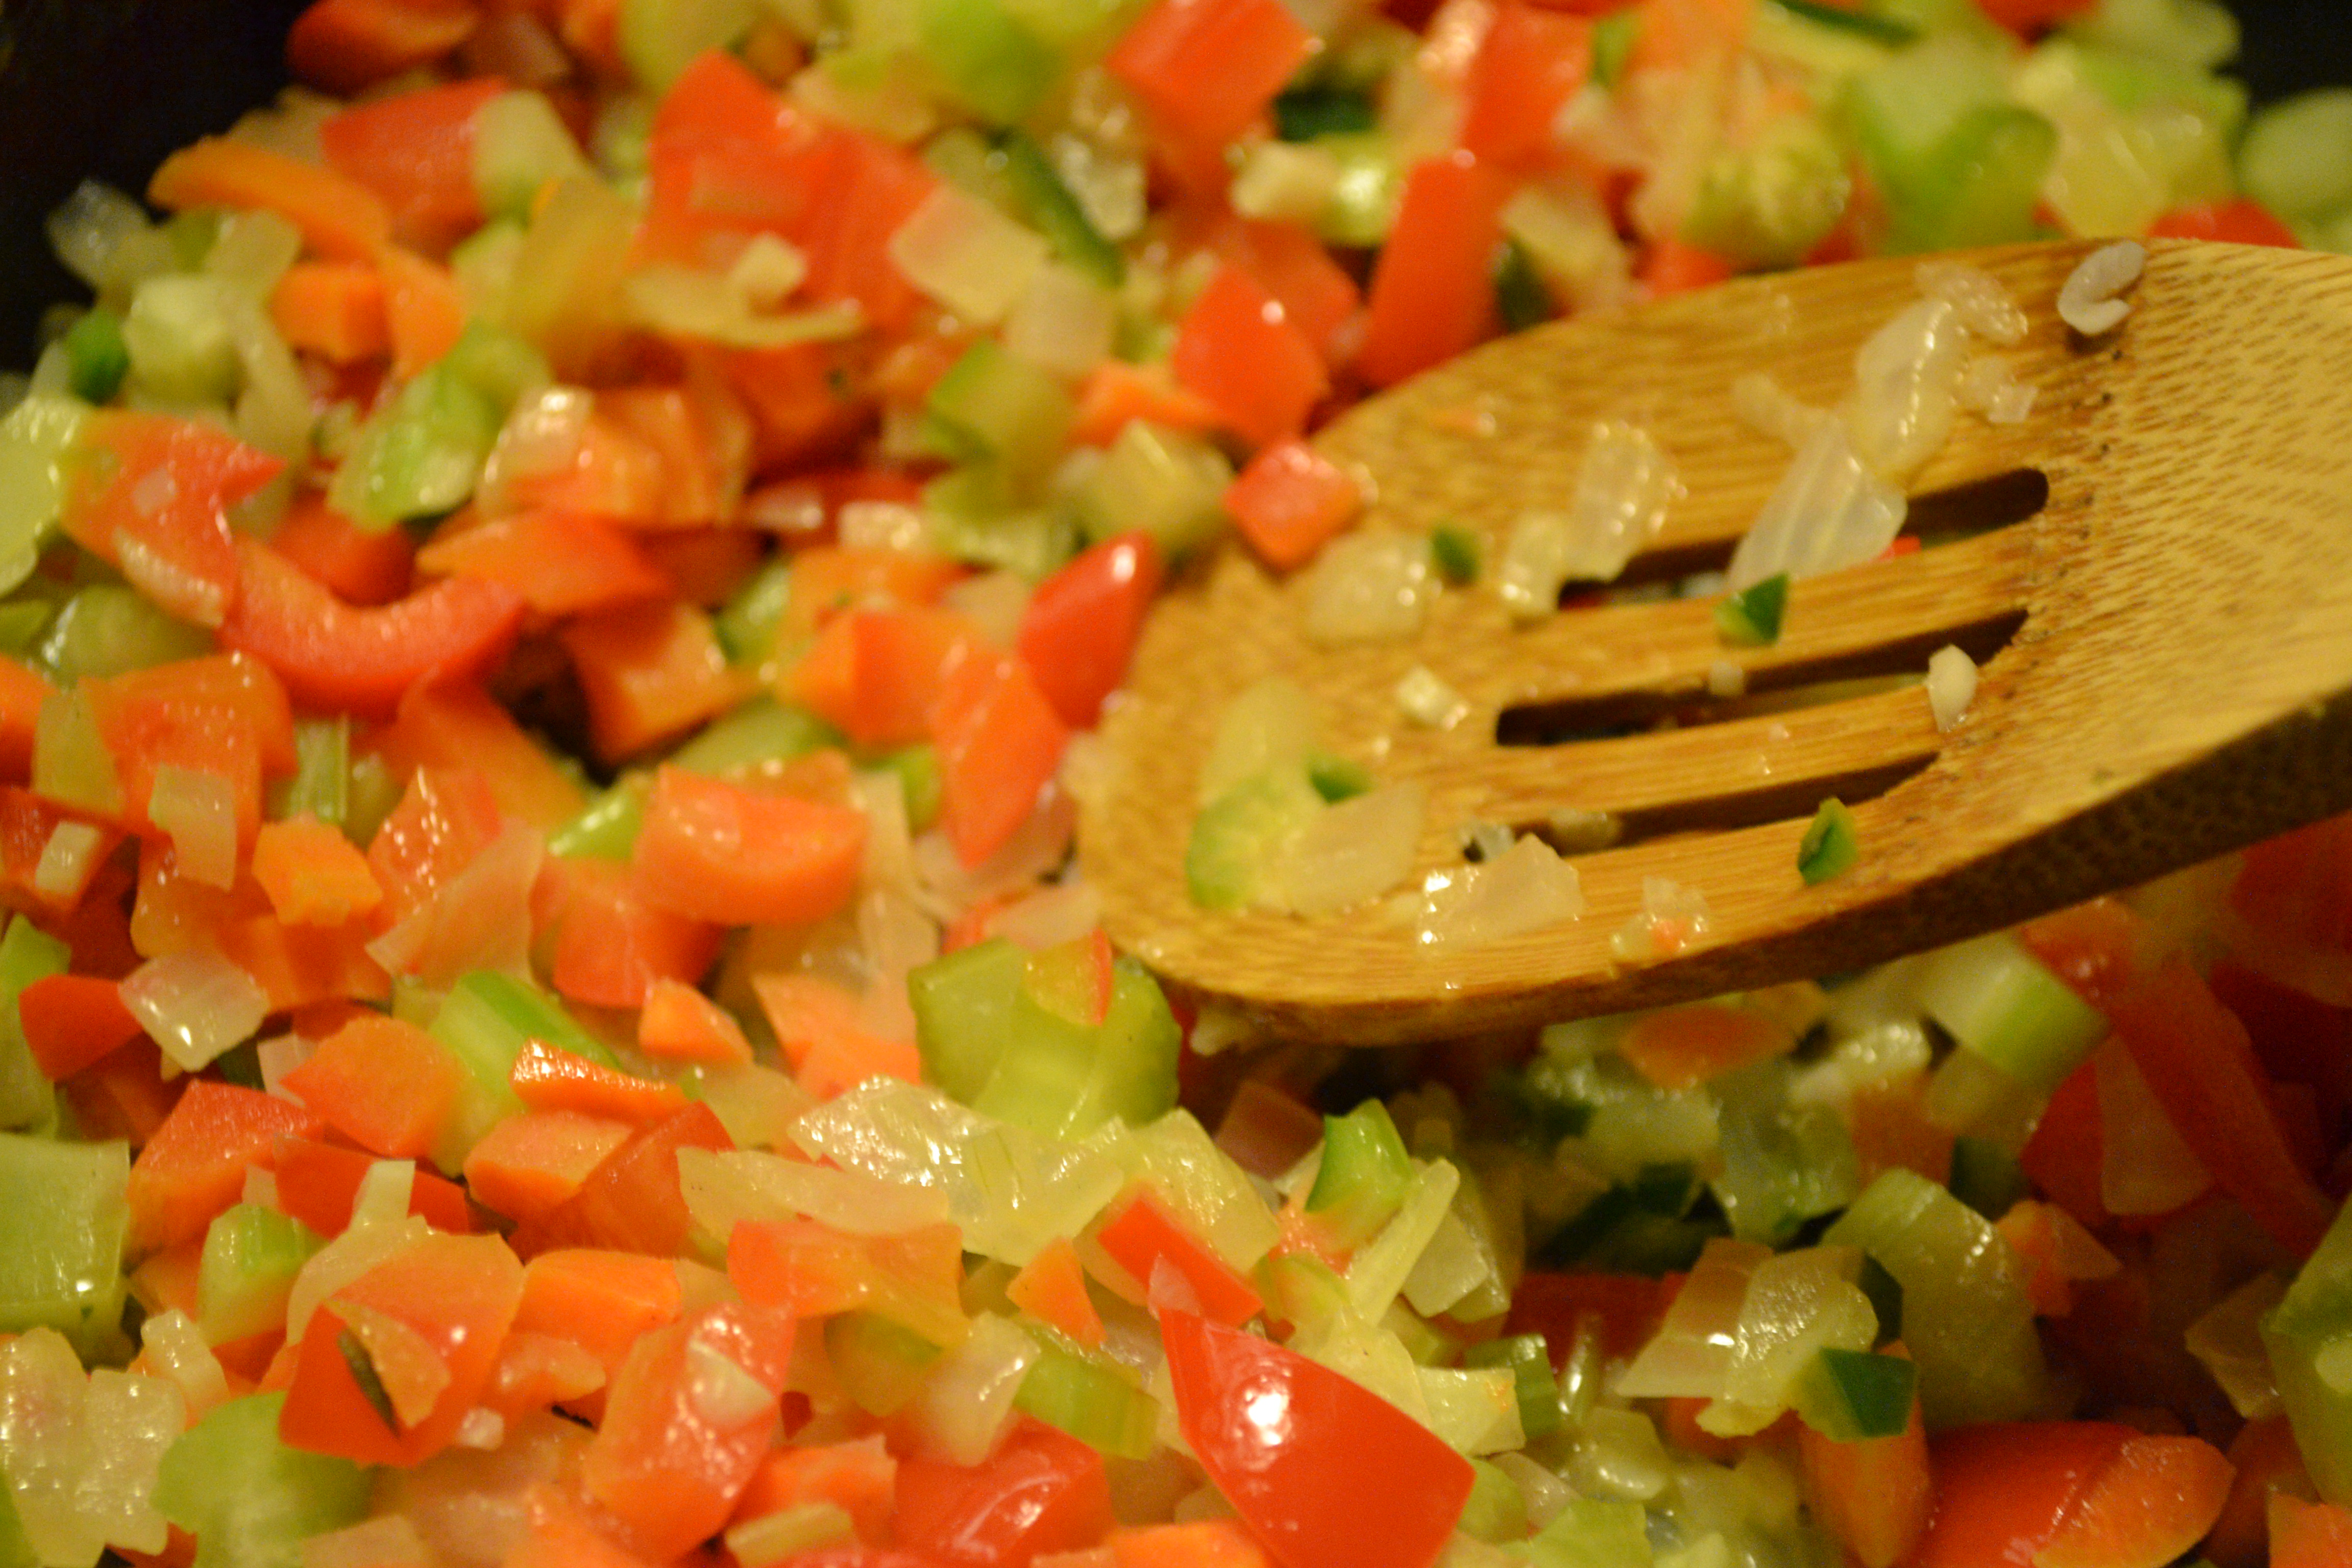
I know that chowder is generally a fall or winter soup, but since corn is in abundance here in South Central PA, and since today was a rainy day, I decided that this Corn Chowder from Two Peas and Their Pod should be dinner. Oh, and it’s vegetarian! 🙂

Yay for fresh veggies!
Onion, celery, red pepper, carrots,
poblano, potato, garlic and butter.
Can you smell it?
I cut the kernels from the cob
and tossed the cobs in for flavor
with the veggie stock.

Then, I added some flour, milk,
the previously extricated kernels,
some thyme, pepper and salt.

It sat on the stove for about half an hour.

007 loved it.
Cat ate seconds.
This is a winner in any season.
17 more pins to go.
Cereal Box Magazine Organizer
Nothing reminds me how craft-challenged I am like glue and duct tape. As I sit here with sticky hands, I’d like to recount how I spent the last hour in my kitchen…
Once upon a time, I saw this gorgeous upcycled cereal box picture and pinned it to my Pinterest board. I read the directions and thought “This looks easy!” Forgetting that crafts are my kryptonite, I proceeded to gather the materials telling 007, “We’re going to have fun!”
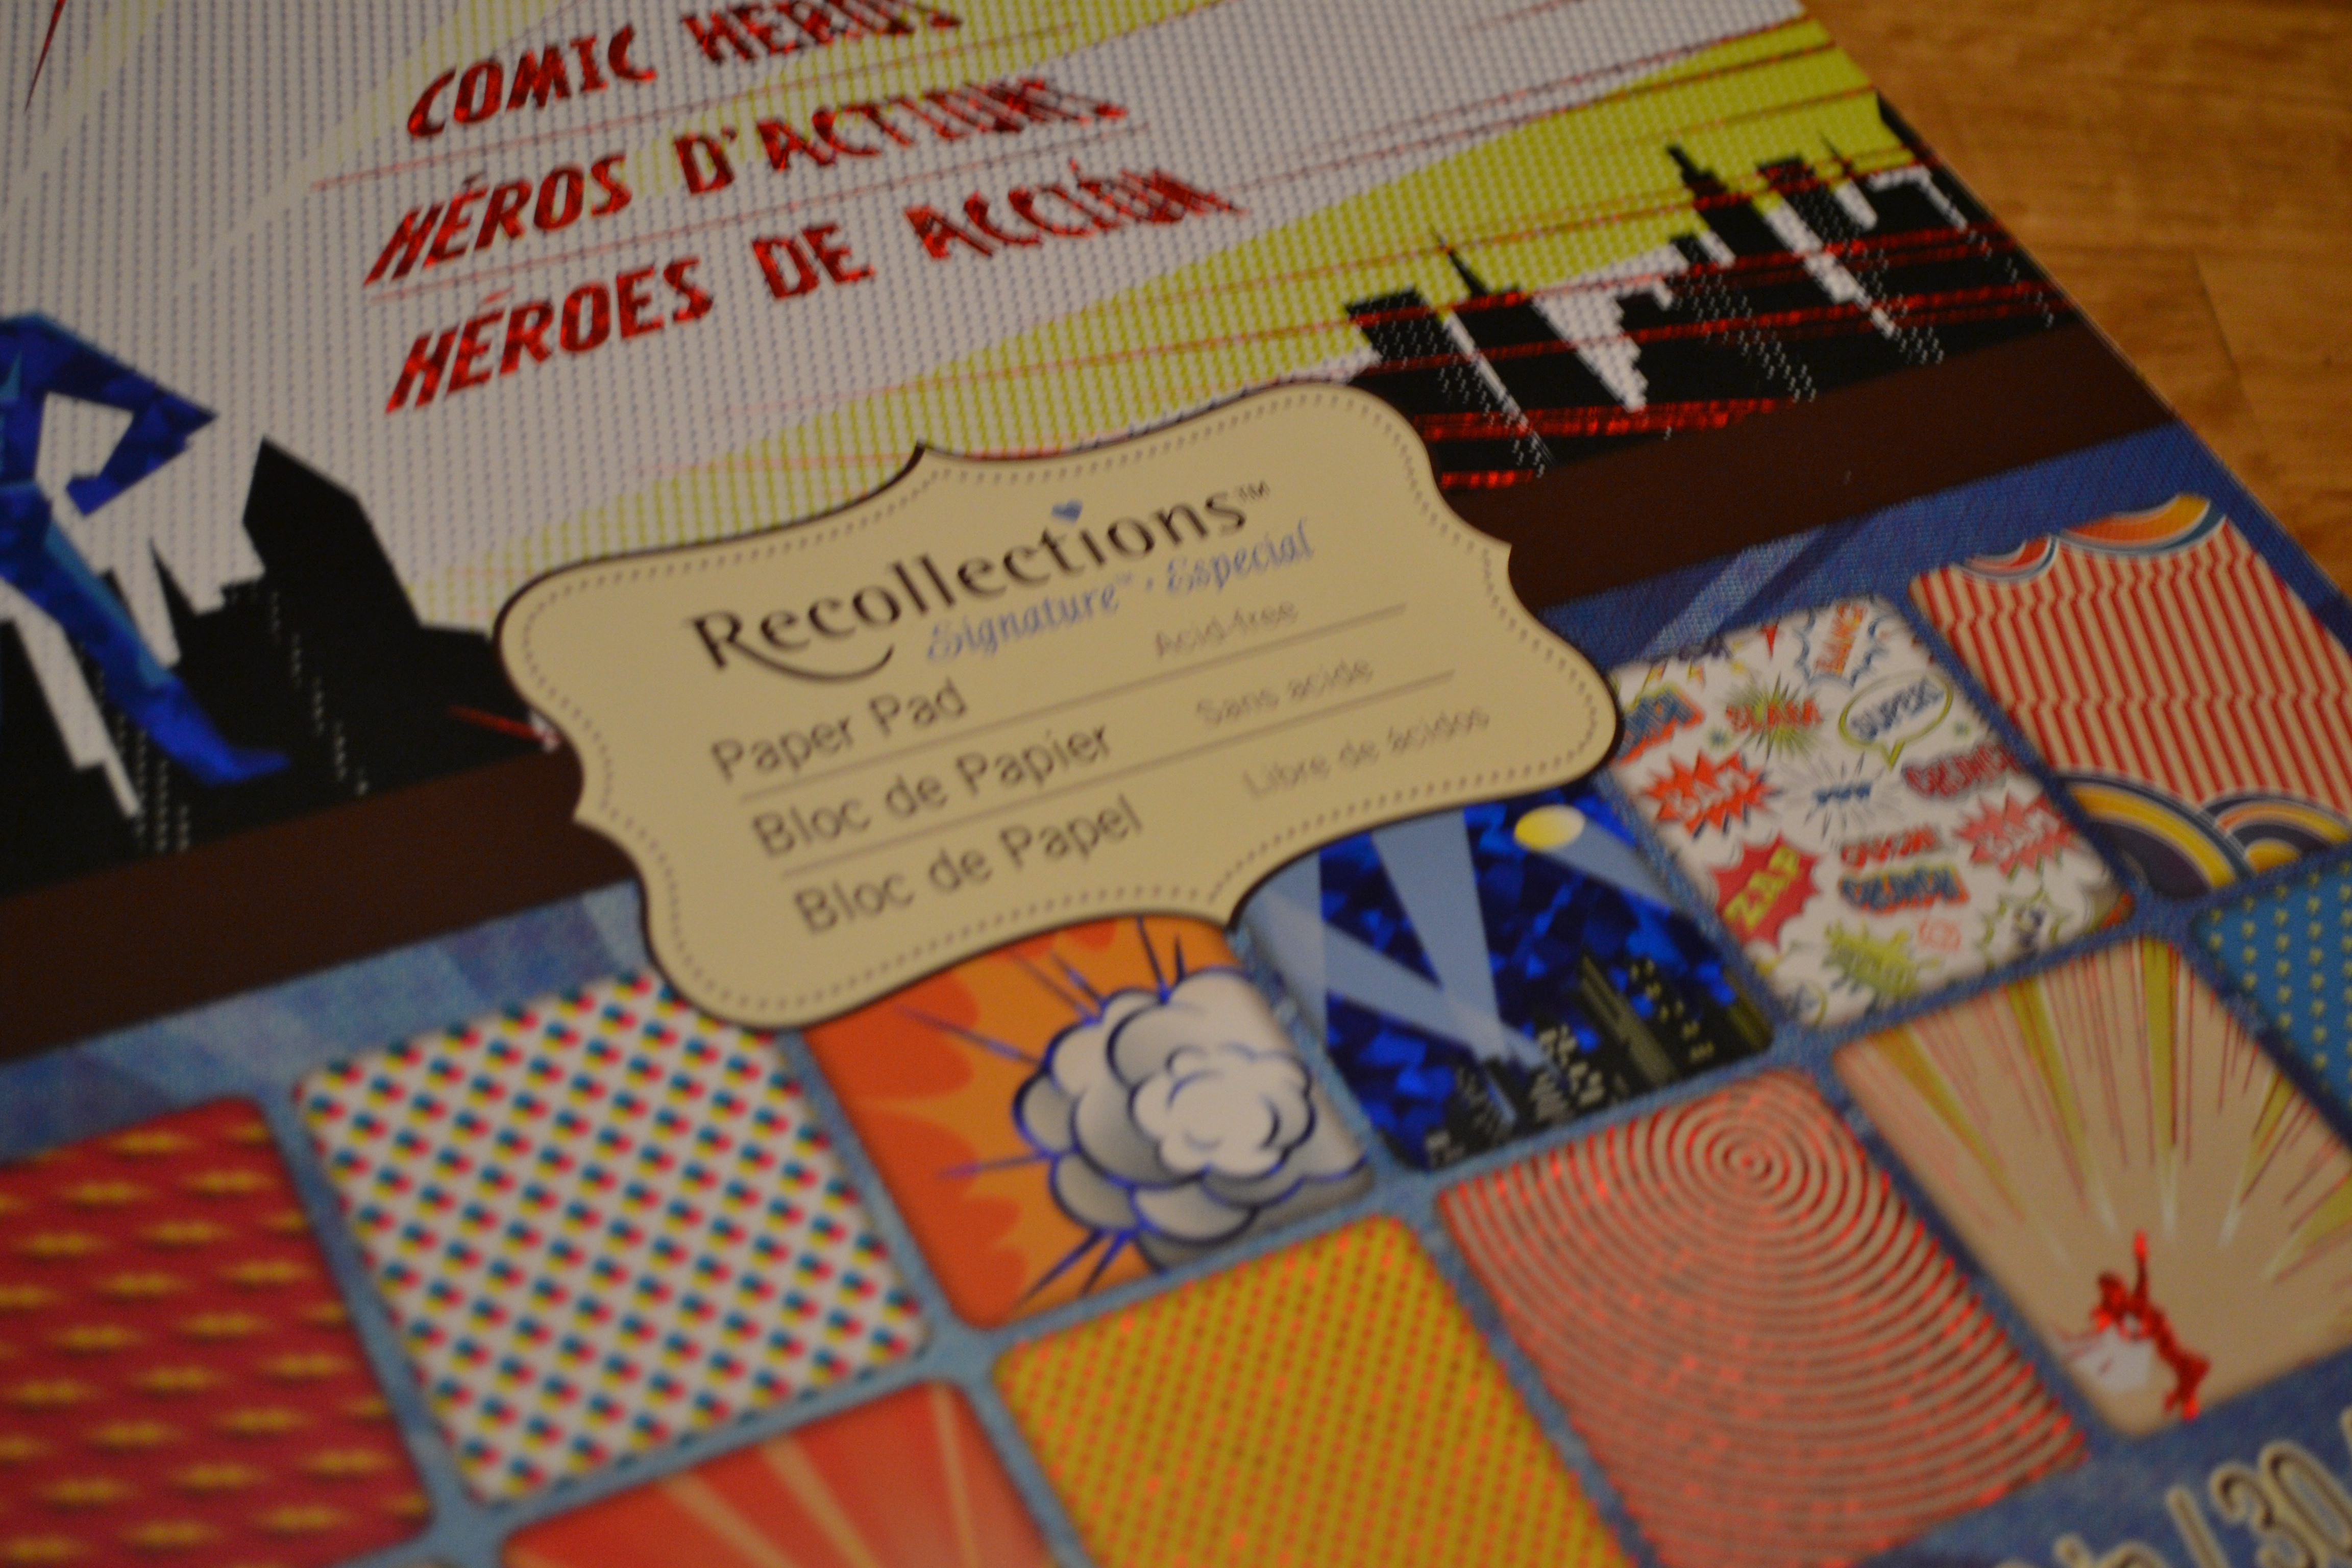
I bought this snazzy super hero themed scrapbook paper
a while ago when it was half off.
I have various plans for it’s contents.
We’ve been stock-piling cereal boxes
because there are tons of
cool pins about how to reuse them.
This is just one.

We started by cutting the top of the box.

Easy-peasy.
We cut a diagonal line.


And then cut patterns in scrap book paper,
construction paper and felt.
007 likes green a lot.

Here’s where things got sticky.
The construction paper boded to
the adhesive spray immediately which, you would think,
would be a good thing, but, you see,
there was no time to maneuver the paper on the inside.
Wherever it stuck was where it was staying,
including my hands.

I continued to paper the inside of the box
and then moved to the outside of the box.

All of this took about 10 minutes.
And then, came the duct tape.
I really should have bought pretty washi tape,
but it’s raining outside and I wanted to
work with what I had.
What I had was silver duct tape.

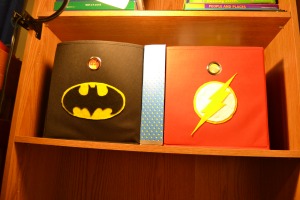
Overall, I was happy with the way it turned out.

It’s not perfect, but
my little super hero loved it.
Because all super heroes need a place to store
their Lego Mags.
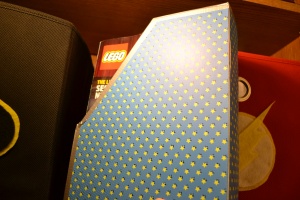
Where nobody can see them.
18 more pins to go
after I take the glue off of my hands…
Homemade Butterscotch Sauce
Perhaps it would have been better if I did not pin this particular sauce to my Pinterest board. It is entirely too easy and too yummy. Read at your own risk.
Unsalted butter.

No, the next ingredient is NOT Scotch.
It’s brown sugar. 😉

Cream.
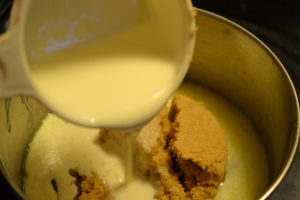
Salt.

Melt.

Bring to a boil…

for 5 minutes.

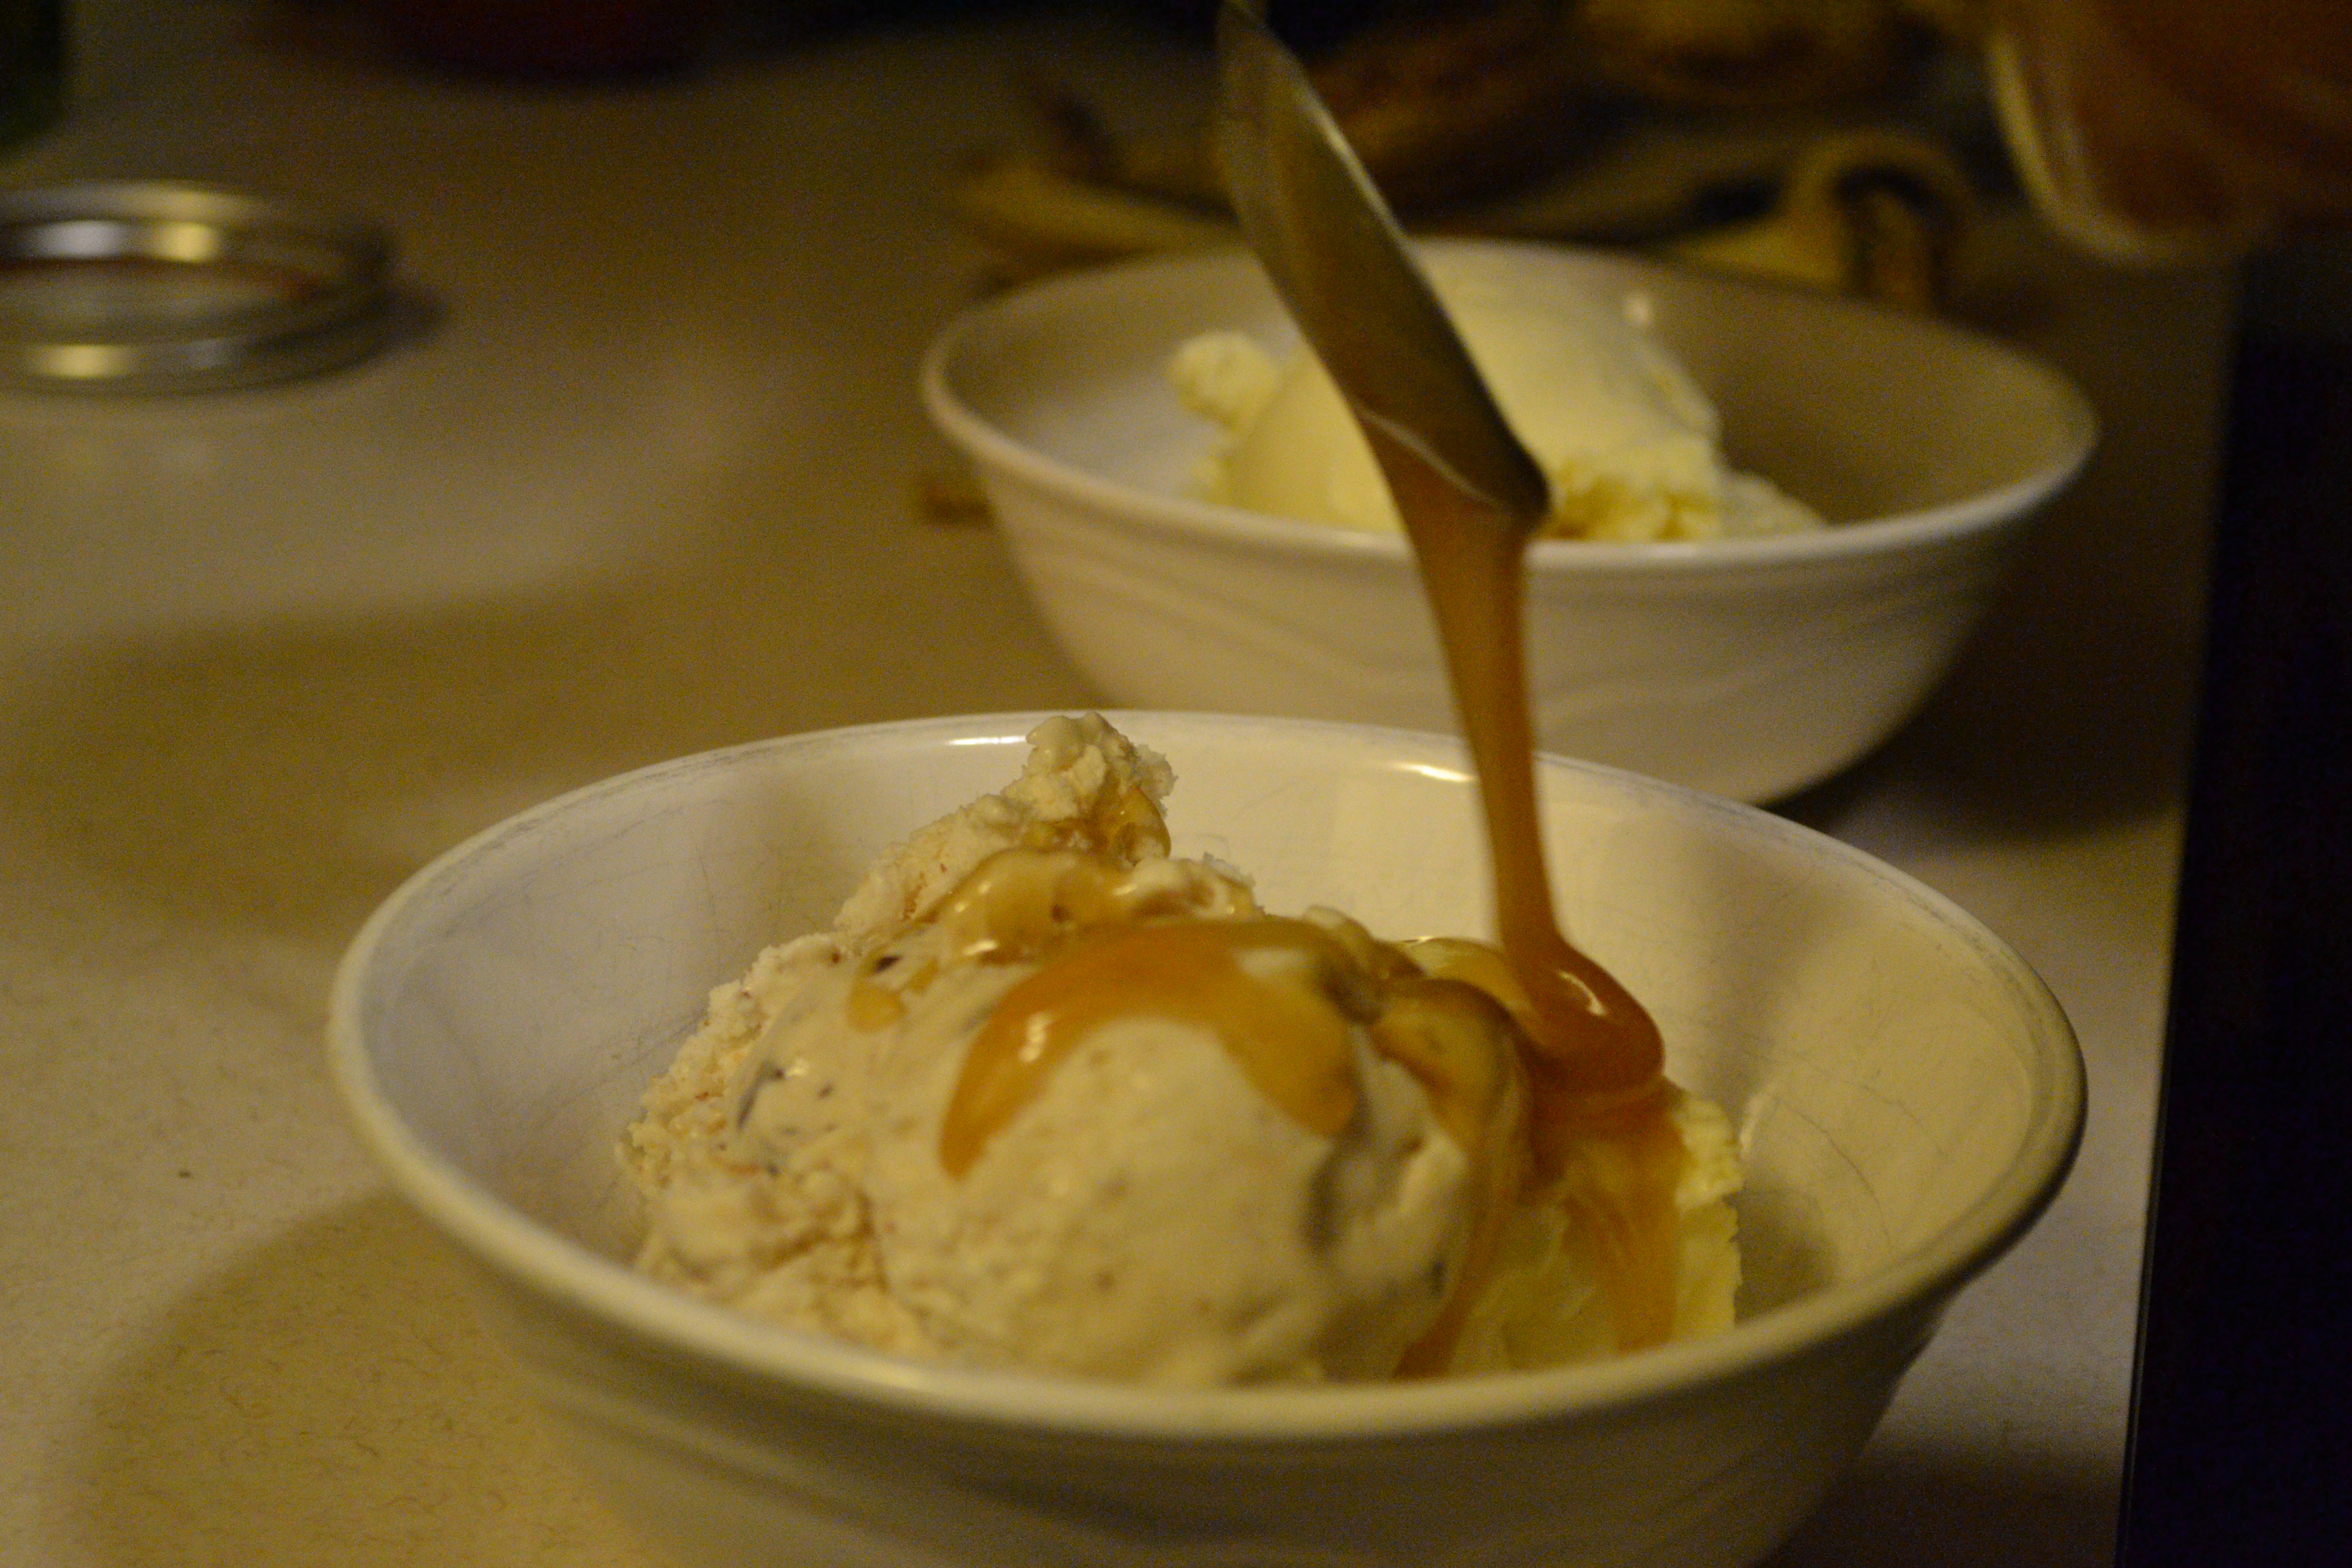
Pour into a heat-safe goodness-bearer.

Cool.
After mine was cooled,
I noticed that it wasn’t as thick as
the original recipe.

Perhaps, next time,
(for there will most definitely be a next time)
I’ll boil it for a minute or so longer.
I’ll also use just a bit less salt.
Even though it was thin, I was impressed by it’s
sweet/salty flavor.
Summer, I wish you would never leave.
19 more pins.
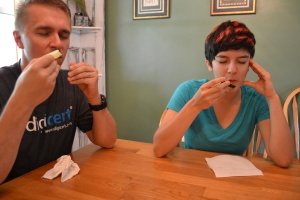
Pickles
Cat and Papa love pickles so, I decided to try my hand at pickling. This being my first attempt ever at pickling, I used two different recipes for dill pickles and conducted a blind taste test to see which one my family preferred.
I started with cucumbers given to me by some friends
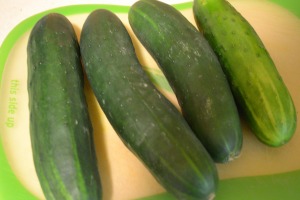
and cut them into spears.

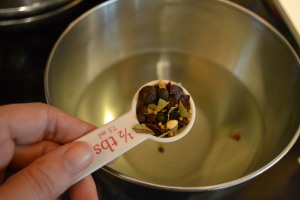
For Pickle Recipe A, I used pickling spices and dill seeds along with vinegar, garlic, water sugar and salt.

Then, I prepared Pickle Recipe B which required boiling the brine (vinegar, water, salt and sugar) and adding some fresh dill and garlic to the jars.
This dill was donated by my friend Bella Principessa.


After the brine cooled, I poured it into the jars, sealed them and popped them into the fridge.

After four days…

We were ready for our taste test.

I noticed immediately that “Recipe A”
was more brown and the brine was cloudy in the jar,
while “Recipe B” still resembled an unaffected cucumber.


My contestants obediently closed their eyes
and judged the specimens by smell,

crunch,

and taste.
The winner?

Though both had the desired crunch and smell,
B was by far the favorite for taste.

They even measured it against store bought pickles.

And it still came out on top.
I think we’ll be planting dill in our garden next year…
right next to the cucumbers.
This experiment counts as two pins.
20 pins to go, friends.
Fun Toothbrush Holder
Ok, I think we need to talk about the elephant in the room (the bathroom).

This very easy pin is in the styling of the one found here, except we used a non-extinct animal as our base.
I took the elephant to the shop along with one of our kid’s toothbrushes to determine the size of drill bit to use for this project.

I drilled a pilot hole as a guide for the bigger spade bit. The hole was drilled through the top and the bottom in one pass.
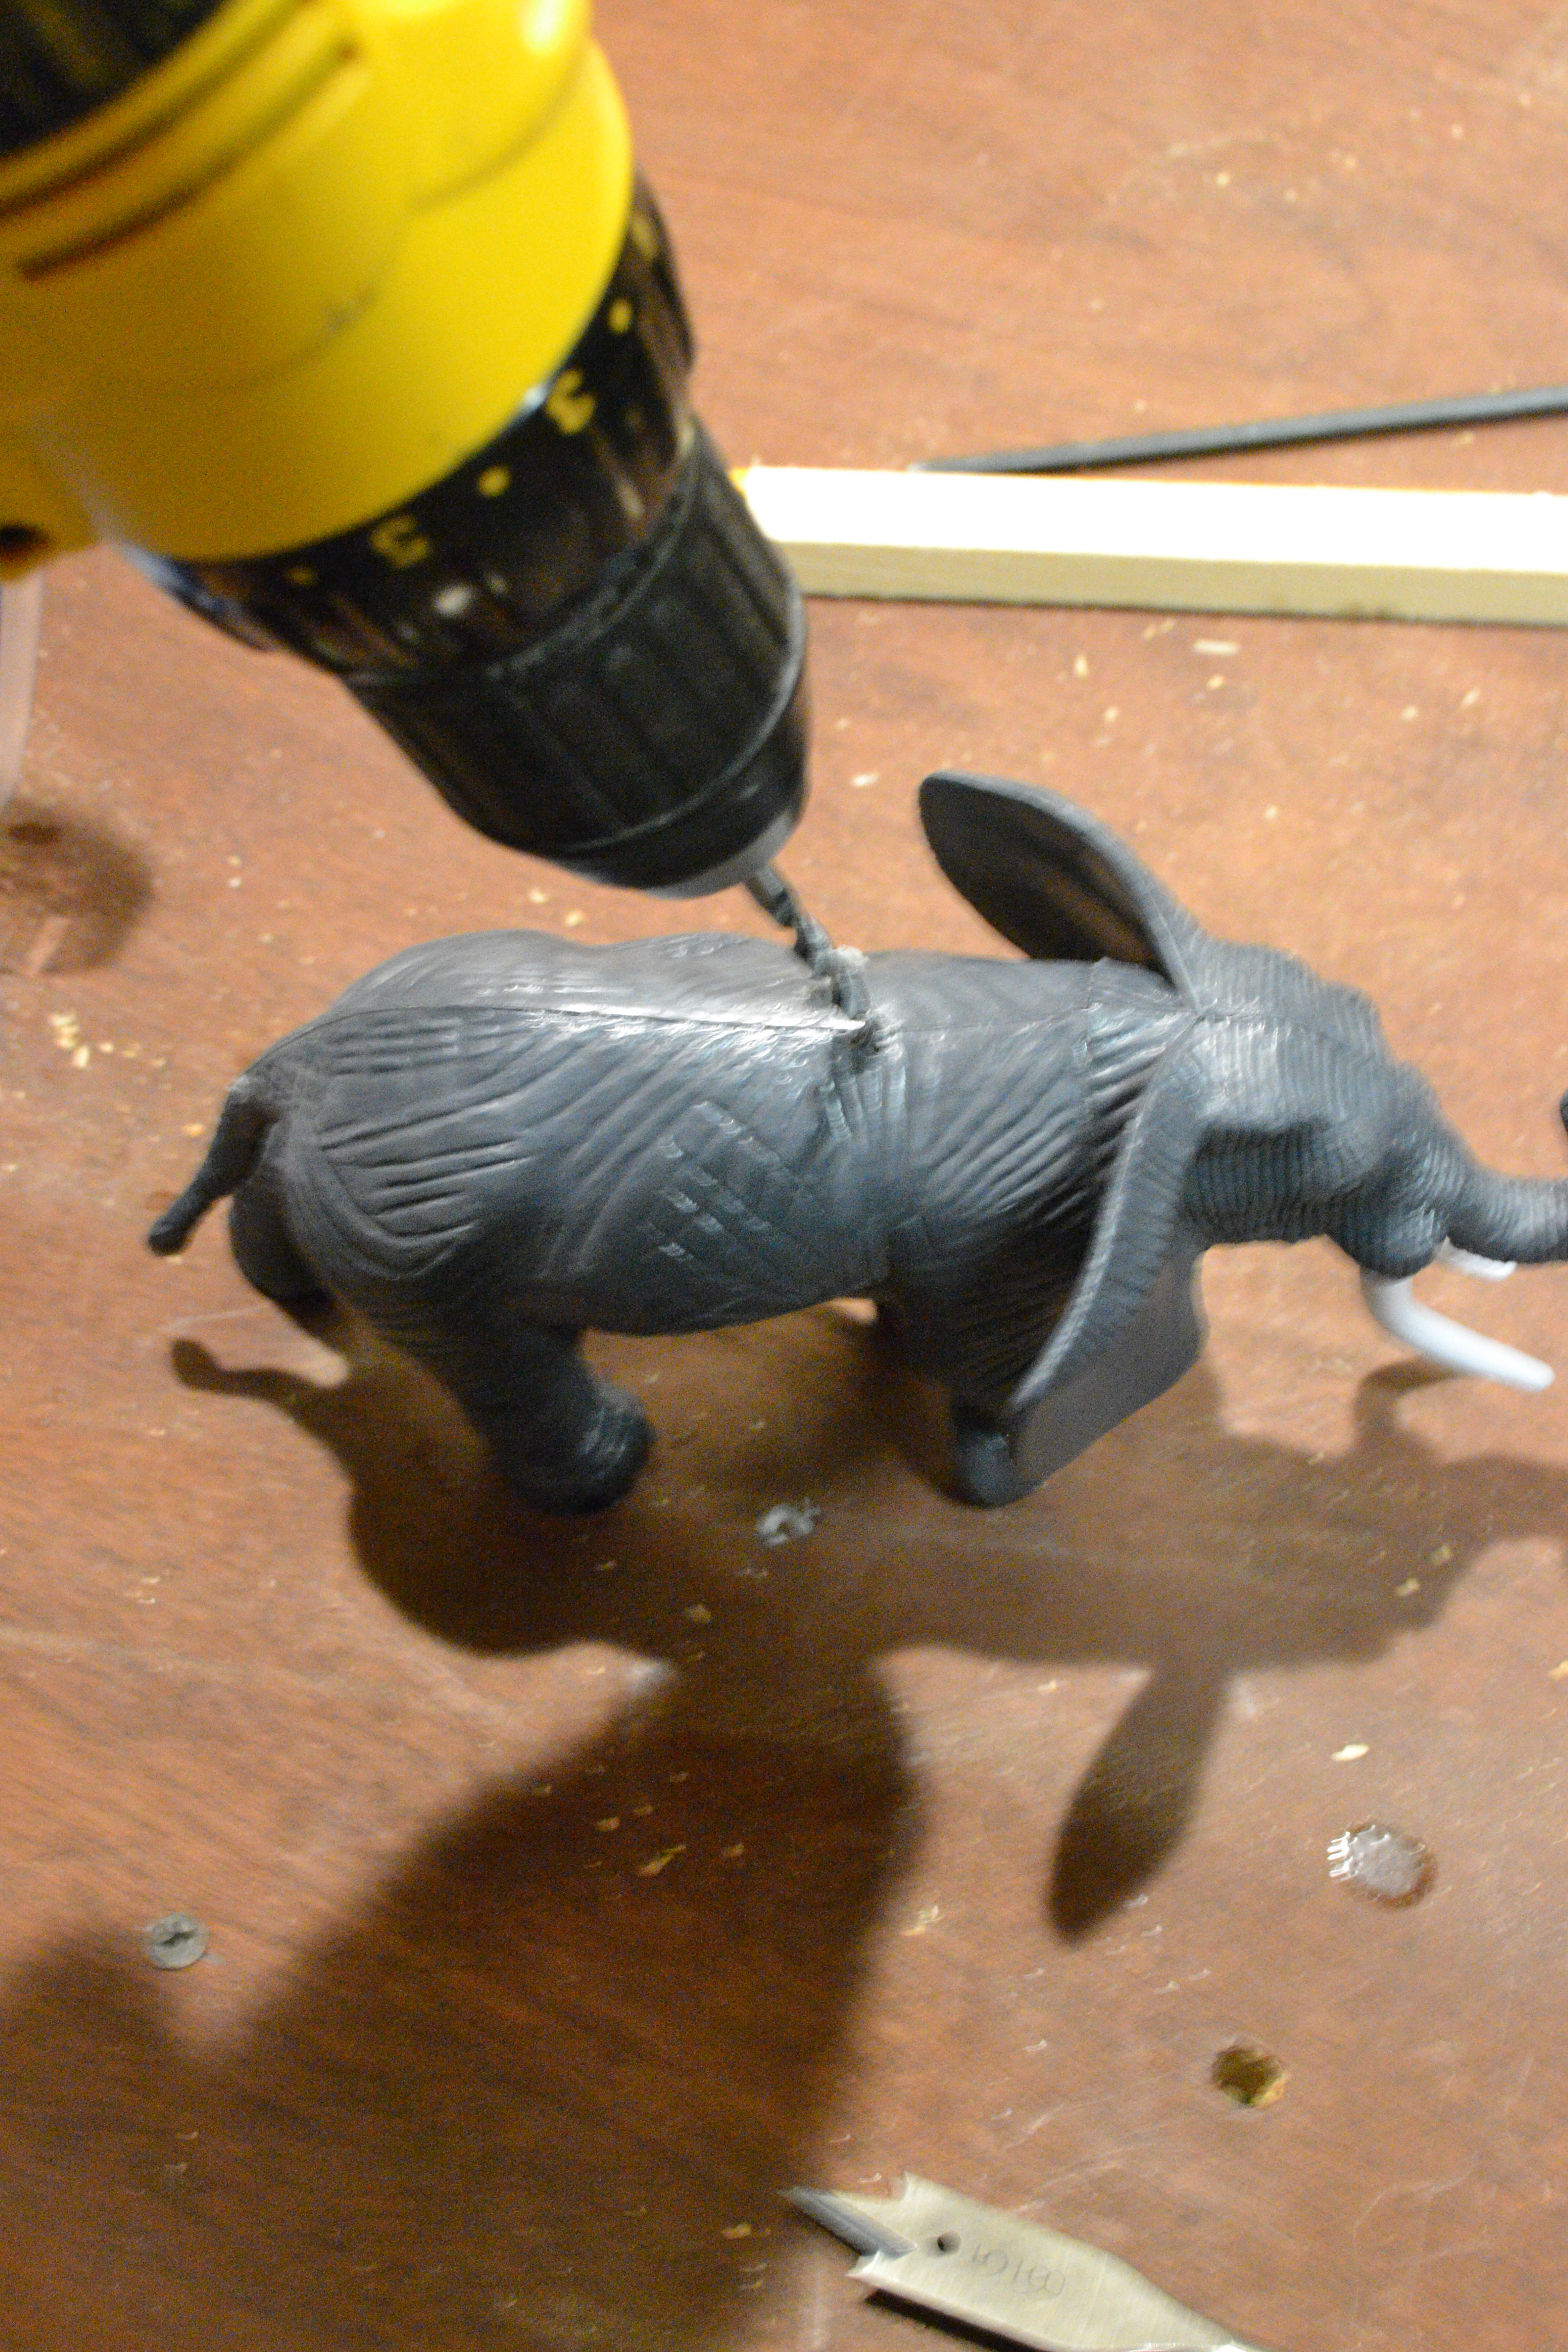

Then I switched to the spade bit and drilled the bigger holes to accommodate the toothbrush. These bits are not known for their super-smooth hole drilling, especially into soft material like a plastic elephant.

The rough edges are no problem when you have a utility knife handy. It also allowed me to make the hole size more accurate to the toothbrush handle.
Sorry guys… the next image is painful.

I switched to a smaller sized spade bit to do the bottom so that the tip of the handle would rest it in without falling all the way through. I only drilled part of the way and then drilled from the other direction (through the top holes). This made a very nice hole that didn’t need to be trimmed much with the knife.

That’s it! Looks pretty cool at the sink.

An elephant never forgets. Let’s hope the kids never forget to brush!
22 pins to go.
Eczema Cream
Both my kiddies have some form of eczema. For the most part, we have taken care of it, but occasionally, they have flare ups. Not wanting to use meds to alleviate their discomfort, I started looking up some natural remedies. This recipe looked like it could help.
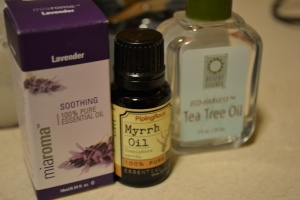
Coconut oil, myrrh, tea tree oil and lavender. I researched the essential oils and found the following:
Myrrh: On the skin, it is used with great success on boils, skin ulcers, bedsores, chapped and cracked skin, ringworm, weeping wounds, eczema and athlete’s foot. Don’t use it if you’re preggers, though.
Tea Tree Oil: Can be used for acne, athlete’s foot, scabies, insect bites and burns.
Lavender: Great for joint pain, acne, depression, and insomnia.
Sounds good to me.


We blended it in the nutribullet.
(Which we cleaned vigorously after this pin.)
Cat tried it out on her skin and said:
“It smells nice. It feels nice, too.”
Nice! 🙂
23 pins to go!
Homemade Cheese-Its
I have this sweet, beautiful friend who is expecting another little one in a few months and has been craving cheese-its, among other things. Because I love with food, I decided to bake these for her.
I shredded a block of cheese.
I didn’t need all of it,
but tonight was Taco Tuesday
so this was useful.


I combined the cheese with
butter, flour and some cold water.
The dough reminded me of pie crust.
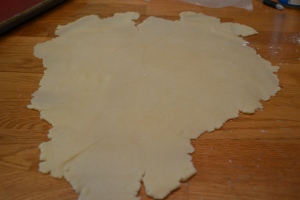
I flattened it into a disk and
put it in the fridge to chill for an hour.

After an hour,
I floured and rolled it.
I love dough, especially dough
that looks like Ireland.

especially dough
that looks like Ireland.
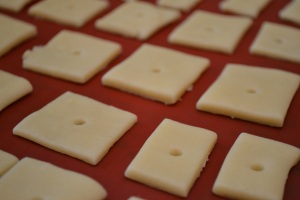
After it was rolled, I cut it into squares.
They weren’t that even,
but it worked for me.

I punctured them with a chopstick.
here they are ready to enter the oven.
Here is the finished product,
all brown and puffy.

I baked them for a few minutes longer
than the original directions indicated
to get that nice golden color.
I packed them in a baggie and delivered
half of them to my lovely friend.
I do hope she enjoys them.
007 and Papa test-tasted about 15 of them,
you know, to make sure they were ok
for others to consume. 😉
24 pins left.
Tie-Dye Mickey Mouse Shirts
We found this wonderful pin here.
We found white t-shirts to practice on in 007’s closet.
We placed a cup underneath the shirt and
secured it with a rubber band.

We also placed some cardboard in between
the front and back of the shirt.

We made a shape with a Sharpie
and then we sprayed it with
Isopropol Alcohol.


It was fun watching the ink spread.
The ears were my favorite.


We’ll pop it in the dryer to set the ink
and then, as legend has it,
it will not run when it is washed.

Fun, quick and easy: I liked this craft.
I bet we can do some other fun shapes, too. 🙂
25 left!
- ← Previous
- 1
- 2
- 3
- Next →
